From a snaphot to a finished laser acrylic laser cutout
In this article, we’ll take you through the full process behind creating our custom acrylic laser-cut car displays—designed with collectors in mind.
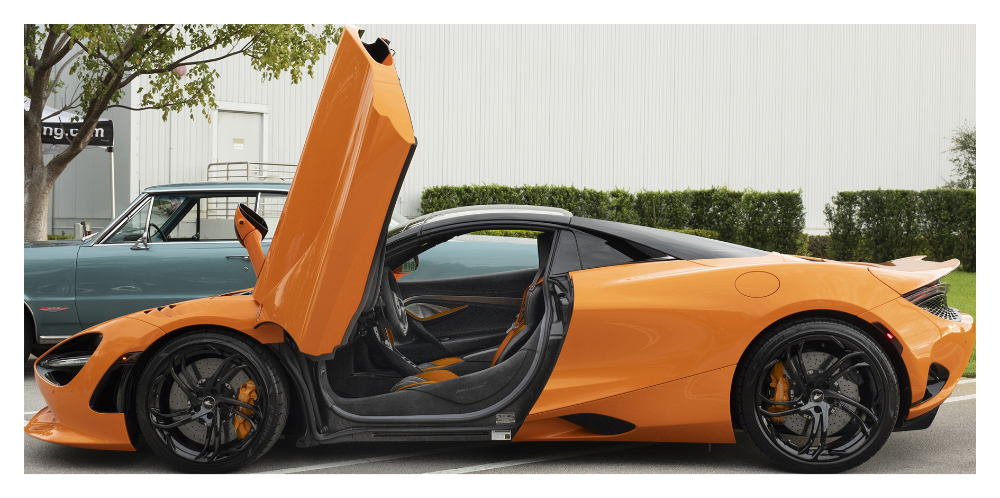
It all starts with capturing a high-quality photo of the car, carefully chosen and composed with the final display in mind. Here’s our first example: a striking McLaren classic car, originally photographed against a cluttered background.

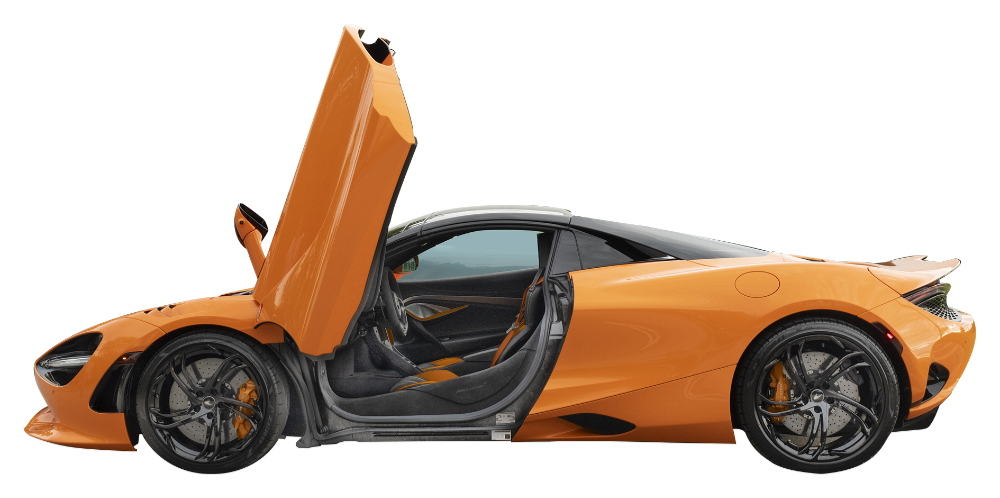
We then digitally remove the background, refine the image for ideal contrast and color accuracy, and print it on a high-resolution color printer to ensure vibrant, lifelike results.

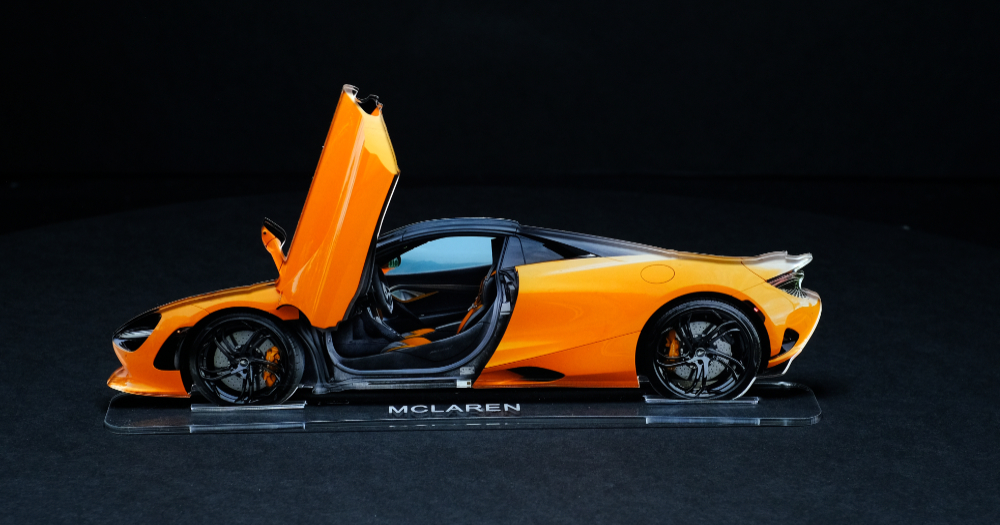
In the final stage, the photographic image is attached with a special transparent adhesive film to a clear acrylic sheet and then precisely cut using a professional-grade, high-speed laser cutter. The cutting process includes multiple setup steps to ensure clean, detailed edges. Along with the car itself, we create a matching acrylic base that features the car’s name and small wheel slots—allowing the cutout to sit securely while giving it a polished, showroom-style presentation.

If you have a nice photo of your car—or would like to have your car professionally photographed and turned into a custom acrylic laser cutout—contact Peter at the Custom Photo and Framing store in Boca Raton. You’ll find his contact details in the Contact section (accessible from the top menu of this website).